Guide to Labelling and Packing for a Seamless Transition
Moving day arrives, bringing with it a whirlwind of emotions – you’re excited for a new chapter, but also anxious about the logistics, and perhaps a touch of dread at the potential chaos. Amidst this flurry, one goal stands out: ensuring the safe and efficient journey of your belongings.
To navigate this transition smoothly, let’s dive into the essentials of labelling and packing for a relocation, so you can guarantee that your possessions reach their new home unscathed and organised.
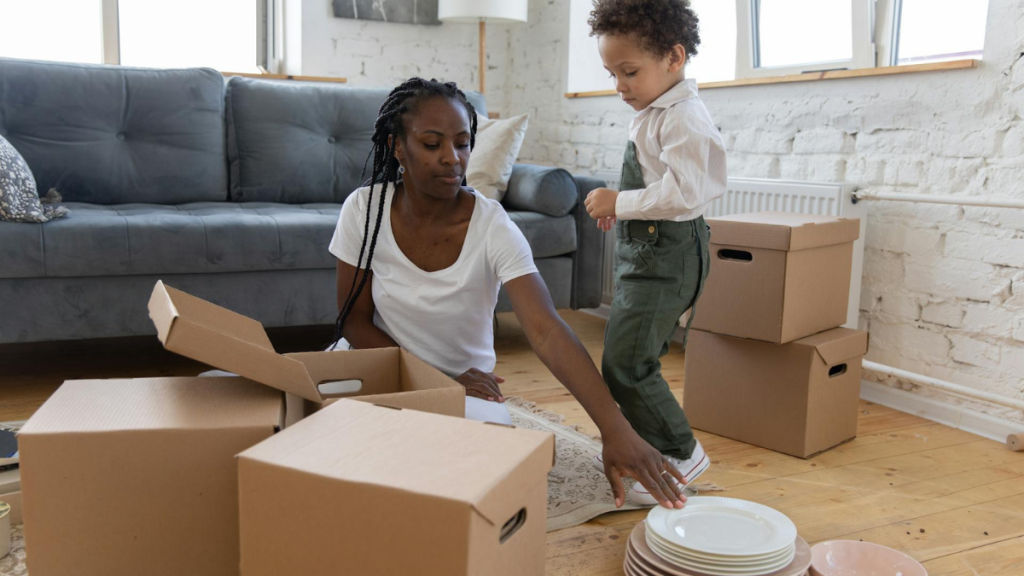
Labelling: The unsung hero of organisation
Think of labels as the silent heroes of your move. They not only guide movers and unpackers like a well-defined map but also save you precious time and prevent confusion.
Here’s how to make your labelling system shine:
Clarity reigns supreme – forget the squiggly handwriting and faded ink. Use bold, contrasting fonts and colours that stand out even from a distance. Think black on white, red on yellow – anything that pops against the box background.
Information powerhouse – don’t settle for just “Kitchen.” Include essential details like the room the box belongs to, its content (be specific: “fragile china” instead of “kitchen stuff”), and any special handling instructions (“open last”). It doesn’t hurt to be as specific as possible.
Standardisation – this is your secret weapon: Develop a system that speaks to you. Colour-code rooms, use symbols for different categories (fragile, liquids, electronics), or implement a numbering system for sequential unpacking. Consistency is key for swift identification and organisation.
Beyond the box – don’t forget furniture, appliances, and individual delicate items. Labelling them directly with room designations and handling instructions streamlines the unpacking process and minimises the risk of misplaced treasures.
Tech time – while this is optional, incorporating barcode or QR code systems is worth considering. Dedicated scanning apps can significantly speed up sorting and tracking, especially for large moves with numerous boxes.
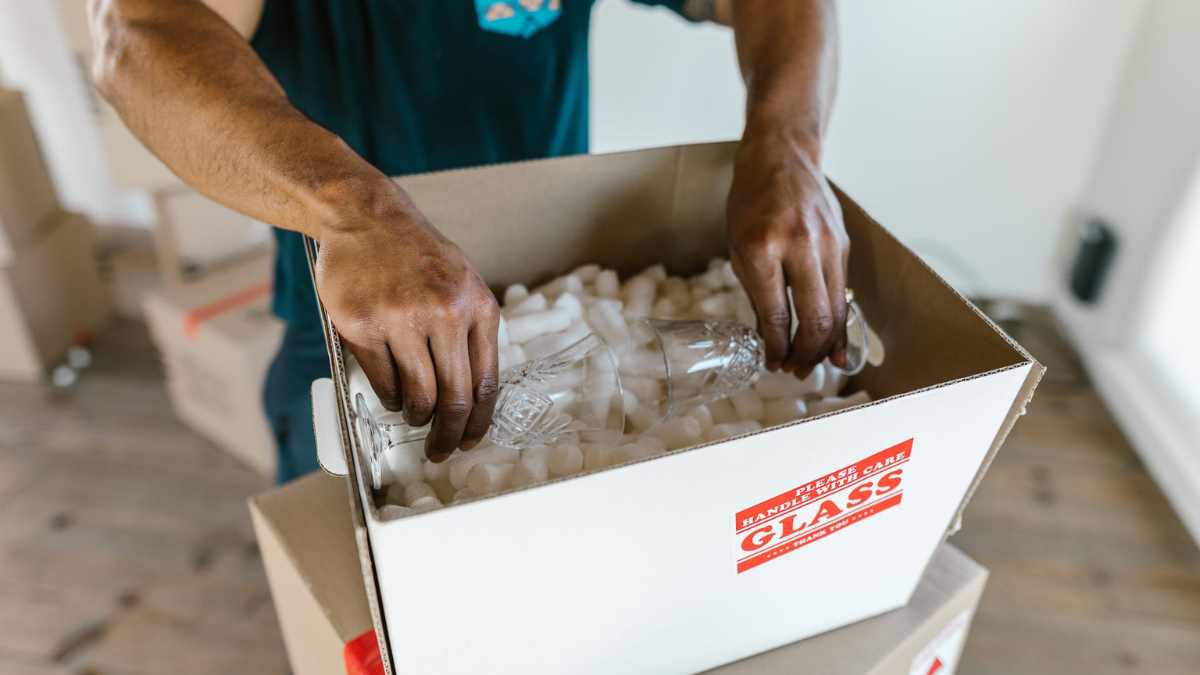
Packing fragile items: TLC makes the difference
Some belongings need a little extra love during a relocation.
Here’s how you can ensure your fragile items arrive safe and sound:
Cushioning is your BFF – bubble wrap, packing peanuts, foam padding, air-filled cushions – these are your allies in the battle against bumps and vibrations. Invest in quality packing materials and use them generously, creating a cocoon of protection around your delicate treasures.
Snug is the new secure – don’t leave empty spaces within boxes – they invite movement and potential damage. Use crumpled paper, fabric scraps, inflatable packing pillows or even towels to fill gaps and keep items firmly in place.
Double the defence – don’t skimp on individual protection. Wrap fragile items in tissue paper, bubble wrap, butchers paper, or specialised cushioning materials before putting them in the box. Remember that prevention is always cheaper than repairs.
A label speaks a thousand words – clearly mark boxes containing fragile items with prominent “Fragile” or “Handle with Care” labels, or you may simply use fragile stickers to make the job easier. Don’t forget arrows indicating the upright position for added security.
Specialists deserve special treatment – for valuable artwork, mirrors, or other particularly delicate items, consider investing in specialised packaging materials like picture boxes or mirror crates. These provide an extra layer of protection and peace of mind.
Liquids and leaks be gone
Liquids can quickly turn a smooth move into a soggy nightmare.
Here’s how you can keep them contained and dry:
Double bag it, seal it right – don’t rely on single-use plastic bags. Secure your liquid containers in double-sealed, heavy-duty plastic bags before placing them in sturdy, leak-proof containers. Think plastic tubs with tight-fitting lids for ultimate security.
The power of absorption – line your boxes with absorbent materials like newspaper, packing peanuts, or even cat litter. These will act as sponges, soaking up any potential spills and preventing damage to other items.
Tighten up – ensure all container lids are securely closed and sealed shut. Don’t forget to reinforce them with packing tape for extra security. Leaks often occur from loose closures, so be meticulous.
Labelling with caution – similar to fragile items, clearly mark boxes containing liquids with “Liquid” or “Do Not Tip” labels. Include arrows indicating the upright position to avoid unwanted surprises.
Separation is key – don’t tempt fate by packing liquids with other belongings, especially electronics or fragile items. Treat them as VIPs and give them their own designated boxes for maximum safety.
Moving hazardous materials with respect
Hazardous materials like chemicals, flammables, and pressurised containers require a different approach. Safety regulations are paramount, so proceed with caution and knowledge:
Know the rules – don’t wing it. It’s not worth it! Research and understand all relevant transportation and disposal regulations for the specific materials you’re moving. Contact your local waste management agency or environmental protection department for guidance.
Original packaging is king – whenever possible, utilise the original packaging for hazardous materials. It’s often designed and tested to meet safety standards for transport.
Double-duty containers – invest in sturdy, secondary containers with secure lids and seals. For extra peace of mind, consider leak-proof bins or drums specifically designed for transporting hazardous materials.
Labelling with authority – don’t settle for generic labels. Utilise the official DOT hazard class labels and UN identification numbers, ensuring they are clearly visible and securely attached. Add “Do Not Tip” and “Flammable” or other relevant warnings for clarity.
Separation anxiety – treat hazardous materials like the outcasts of the move. Pack them separately from any other belongings, ideally in a well-ventilated area at the back of your vehicle.
Professional help when needed – don’t be afraid to seek professional assistance. Depending on the quantity and type of hazardous materials, hiring a licensed transporter might be the safest and most compliant option.
Bonus tips for moving success
- Declutter before you pack – donate, sell, or recycle unwanted items to lighten your load and simplify the process.
- Take inventory – create a detailed list of your belongings, including descriptions, values, and insurance information.
- Document everything – take photos of your belongings before packing, especially valuable items. This can be helpful for insurance claims or resolving any potential disputes.
- Weatherproof your move – as much as possible, choose a clear, dry day for moving to minimise the risk of damage from rain or snow. (Check our guide on packing for a move in different climates.)
- Stay hydrated and take breaks – moving is physically demanding. Stay hydrated, pace yourself, and don’t be afraid to ask for help when needed.
Remember that a successful move is a well-planned and well-executed one. By prioritising safety, organisation, and proper packing techniques, you can ensure your belongings arrive at their new home safe and sound, ready to embark on the next chapter with you.
For more moving and packing guides, check out our Ultimate Guide to Moving House and Techniques for Pre-Packing Fragile Items.
Don’t want to go through all of these? Hire expert and professional movers and packers and make moving and packing less stressful. Call MiniMovers at +1300 642 900 for enquiries!
Featured image by RDNE Stock Project